
Archimedes Spiral Earrings
This post contains affiliate links, if you decide to buy something from one of these links, I may receive a small commission at no cost to you. These links help support the blog and allow me to offer these patterns for free.

In addition to designing patterns, I also sell items in a few local boutiques and recently I’ve been getting requests for earrings.
Due to a metal allergy, I never got my ears pierced so I don’t really think about earrings. Since earrings are so popular I caved and started offering them.
After making up a few from various patterns, I decided to design my own, and as usual, to share that pattern with you.
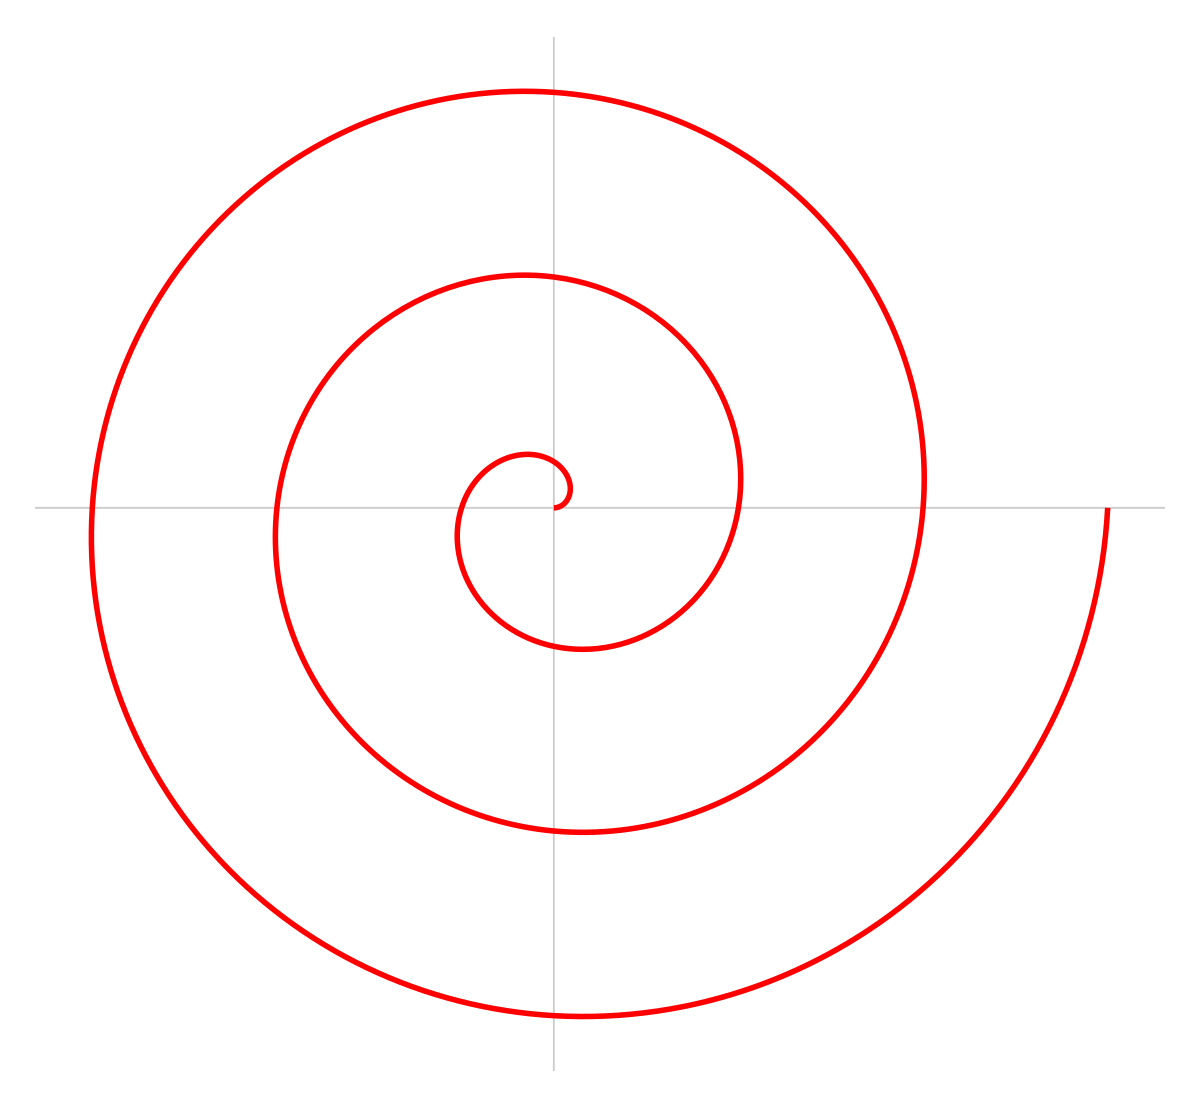
Named for the famous Archimedean spiral model, these simple earrings work up quickly and make great last minute gifts.

You will need:
- # 10 cotton crochet thread, I’m using Aunt Lydia’s Classic in Goldenrod.
- 1.50mm crochet hook, I’m using a Boye steel crochet hook
- 1 pair of fishhook French earring hooks
- Jewelry pliers
- Needle, to weave in ends
Add this pattern to your Ravelry queue

Finished size: 1 inch (2.5 cm) in diameter
Gauge: 12 stitches = 1″ (2.5cm)
Terminology: this pattern uses standard US crochet terminology.
Note: unless otherwise told to, do not slip stitch after each round.
Special techniques used in this pattern:
Working in the back loops only
If you are new to working in the back loops only, Moogly has a great video tutorial available for both righties and lefties HERE.
You can purchase the ad-free PDF of this on (each purchase helps support the blog)

Earring Pattern:
Round 1: magic ring, 6 single crochet into ring
Round 2: in back loops only, 2 single crochet in each stitch around (12 stitches)
Round 3: still in the back loops only, * 1 single crochet, followed by 2 single crochet in the next stitch * repeat from * to * around
Round 4: in blo,* 2 single crochet in next stitch, 1 single crochet in the next 2 stitches* repeat from * to * around (24 stitches)
Round 5: * 1 single crochet in next 3 stitches, 2 single crochet in next stitch * repeat from * to * around (30 stitches).
Round 6: *2 single in next stitch, 1 single in next 4 stitches,* repeat from *to * around, (36 stitches)
Join with slip stitch. Chain 5 and join to same stitch, doing this creates a hanging loop to attach the earring hook to.
Fasten off and weave in ends.
Earring 2:
Repeat rounds 1 – 6 to make a 2nd earring.
Block earrings and if desired, spray with a starch spray to stiffen. You could also use a glue based solution to give them a shine.
Once they’re dry proceed to attach the earring hooks.

Attaching Earring Hooks:
Now it’s time to attach the earring hooks and make them into earrings!
With pliers, open up the loop end of the earring hook and hook it into the hanging loop of the earring with the right (swirl) side facing up.
Crimp the loop end closed and repeat with earring 2.
I hope you liked this pattern & if you did, be sure to subscribe and follow @yarnbending on Instagram for more patterns like this.
Here’s the lovely Pin-able image:
This pattern is for personal use only, distribution of this pattern is strictly
prohibited.
This pattern first appeared on yarn-bending.com


